

How To Set Resolution In Indesign

Introduction to InDesign resize image
In this article, nosotros shall study the various techniques to modify or edit the size of an image in Adobe InDesign. The process of resizing the epitome size also involves the course of action to resize the frame, image, or both at the same fourth dimension. Adobe InDesign is widely used past publishers and Graphic designers to create Books, Magazines, Posters, Flyers, and similar artworks. Learning the process of resizing Images in InDesign is an important role of understanding the fundamentals of InDesign program.
How to Resize Images in Indesign?
Adobe InDesign is an eccentric program that specializes in multiple-folio document cosmos. The user can create vector designs, images, and text simultaneously on the program past having proper knowledge of the software. At times when images or photos are imported or created on InDesign, they don't lucifer the frame size or they need modifications in their epitome size or resolution.
The mechanism of Resizing images on InDesign is contrasting in comparison with other vector graphics programs of the Adobe family unit. To learn the procedure of paradigm resizing, the user should besides cover the noesis of resizing the Frame, artworks, or both.
How to Resize the Frame in InDesign?
Adobe InDesign works on frames and canvas principle for proper management and adjustment of texts, images and vector artworks in a single page or document. 1st the user should learn the method of resizing or editing the frame size before learning to edit the epitome size.
Following are the steps to edit the frame size in InDesign:-
- Launch InDesign.

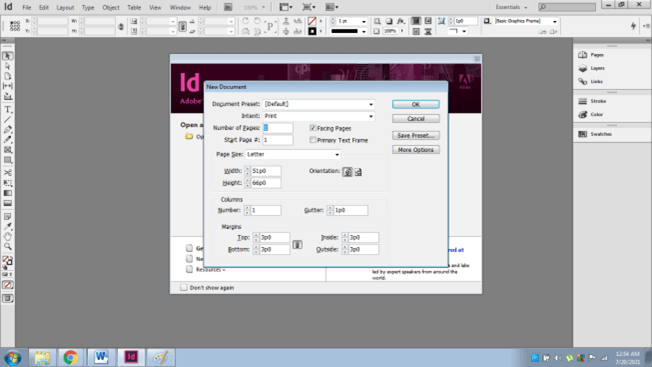
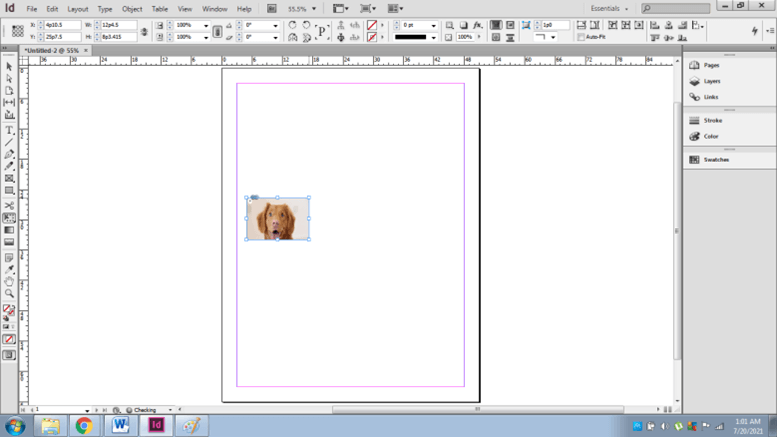
- Create a new document equally shown in the figure below.

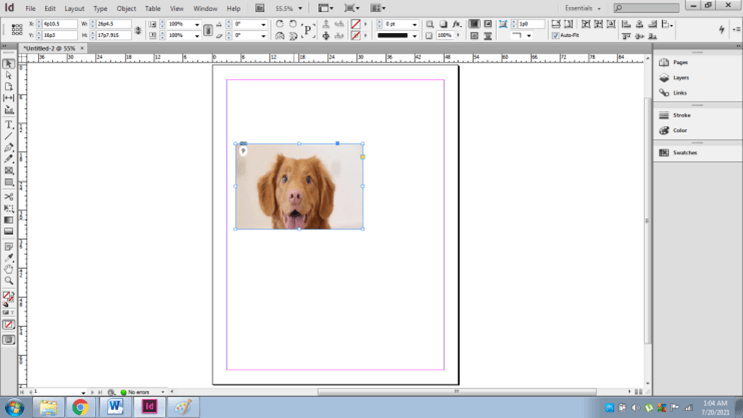
- Import or Identify a raster paradigm as shown below.


- Now, to resize the frame, use Selection Tool (Black Arrow) and move the corners of the frame to change the size of the frame.
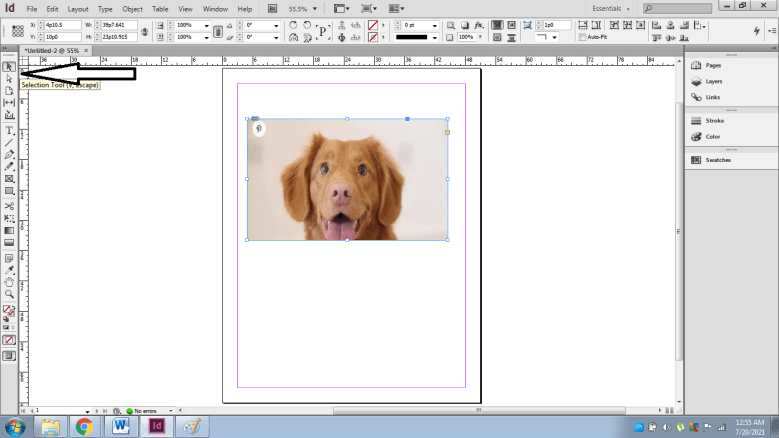
- Select the shift key while dragging the corners of the frame to keep the size of the frame proportional.
How to Resize the Image in InDesign?
To resize an prototype in InDesign, the users have multiple options to select from. Adobe InDesign is an expansive program that deals with multiple ways of modifying images and photos. The user can use Direct Pick Tool or transform tool to alter the size of the image.
Using the Direct Selection tool will help the user to modify the image just without harming the size of the frame. While the Free Transform tool volition edit the image size along with the canvas size.
Here, we should always employ the Direct Selection tool instead of the Selection tool to avoid cropping the image rather than resizing information technology.
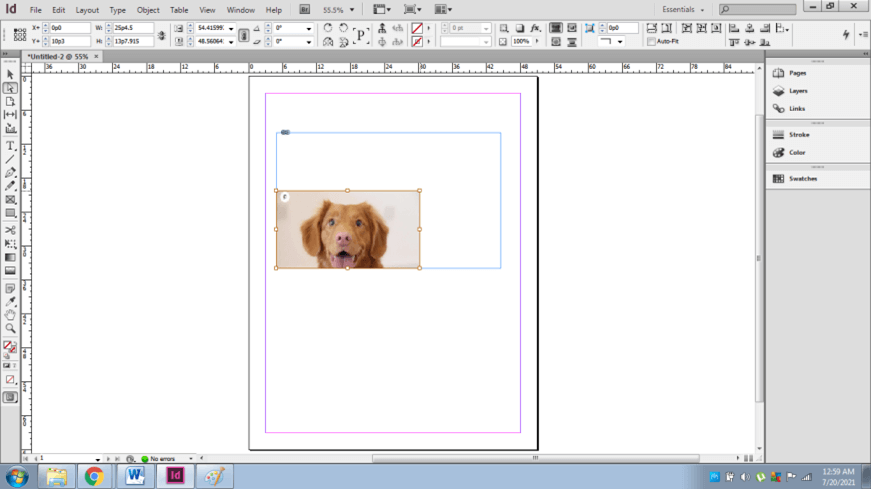
Otherwise, the user tin likewise apply the Selection tool and select the Content grabber tool (white ring appears) that has brown borders to resize the image merely.


Following are the steps to edit the size of the image:
- Launch Adobe InDesign.

- Create a new document as shown in the image below.
- Identify a raster paradigm on the document.

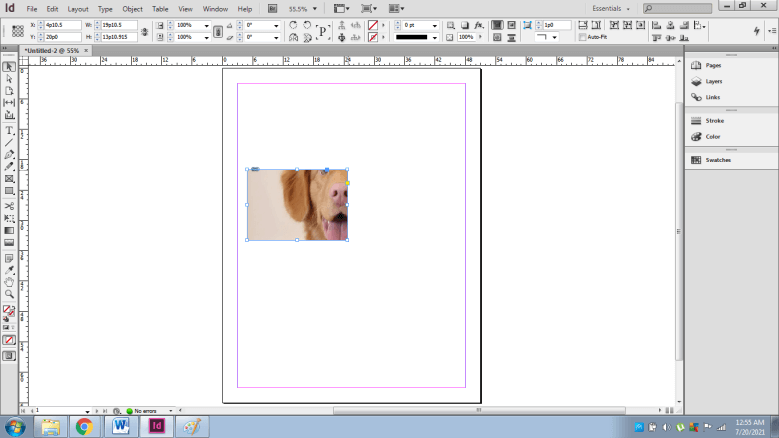
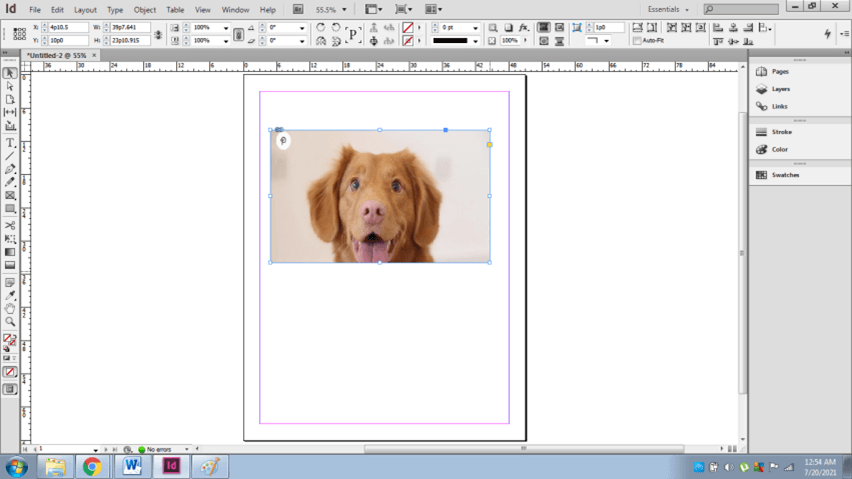
- Now, select the Direct Selection tool (white pointer).

- Click on the paradigm, you will run into a brown transformation box effectually the prototype.

- Drag the dark-brown transformation box to change the size of the prototype.
- To move the image, nosotros can select the image and drag it accordingly.

- Concord the shift central to resize the image in a relative way.
- Past doing and then, the frame size remains intact and untouched.
How to change the size of the Image and Frame at the same time?
- Launch Adobe InDesign.
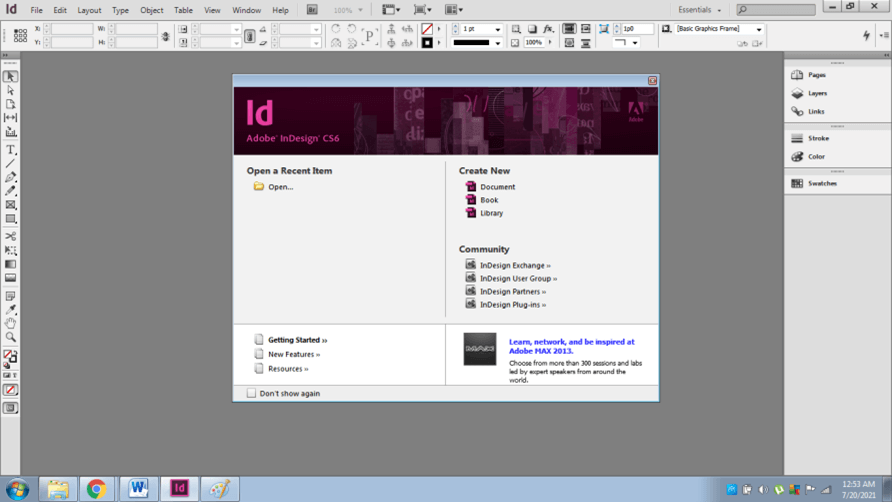
- Create a new certificate as shown below.

- Place a raster image as shown below.
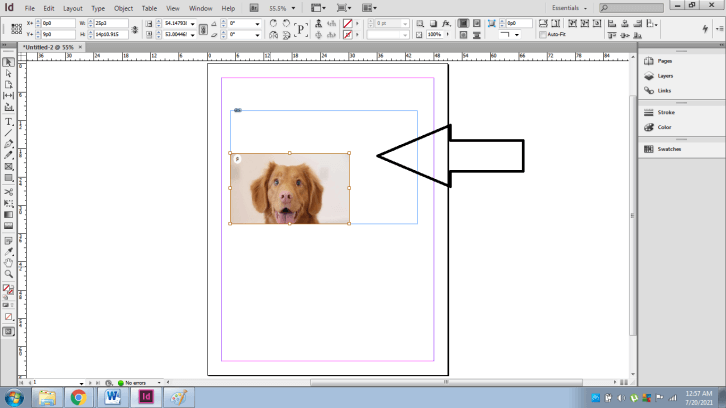
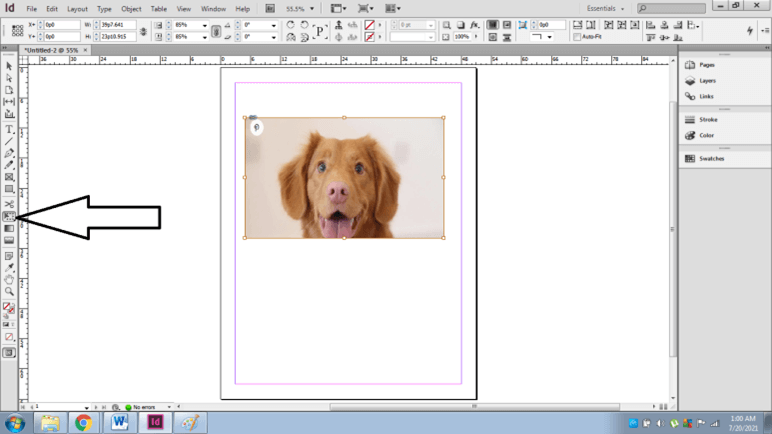
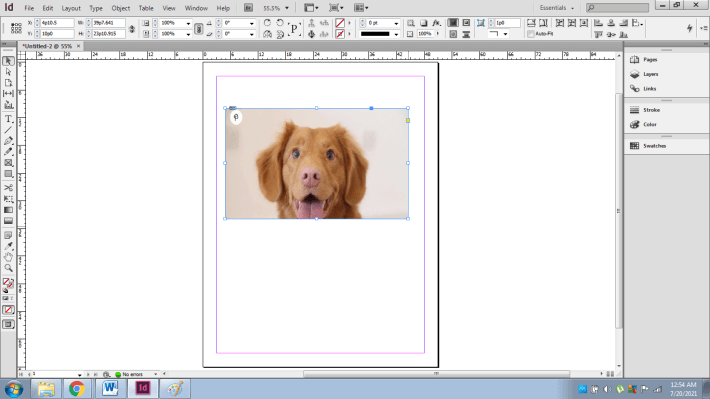
- Now, if the user wants to resize the frame and image at the same time, use the transform tool as shown below.
- Drag the corners of the paradigm by pressing the Shift key for relative results.
- Another way of resizing the epitome and frame simultaneously is by using the AutoFit Choice in the command panel.
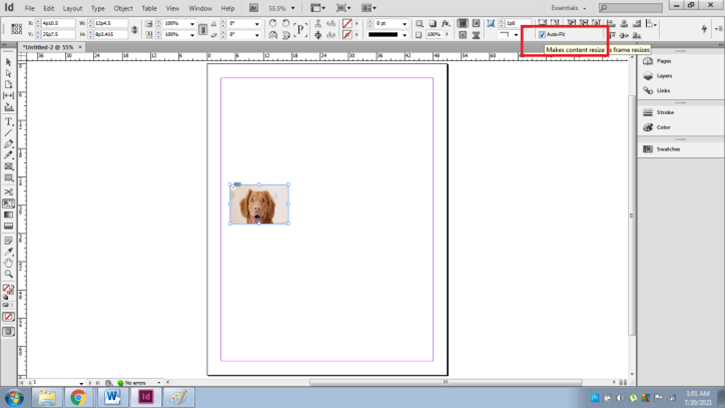
- Click on the option of Auto-fit as shown below and select the frame to change the size of the frame likewise every bit the image concurrently.

- Use the Shift key to alter the same with proportional measurements.
The shift key provides the benefit of keeping the artwork in proportion while the Ctrl fundamental helps in keeping the frame and epitome together.
How to adapt the image size according to the frame size or vice versa?
Adobe InDesign has an inbuilt function called Fitting to swiftly complement the image to the frame size or vice-versa without using composite tools and functions.
Steps to apply Fitting properties on images and frames:-
- Place a raster prototype in the certificate.
- Now, select the image.

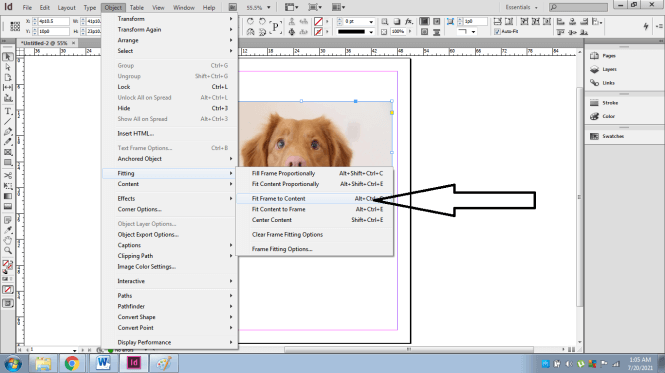
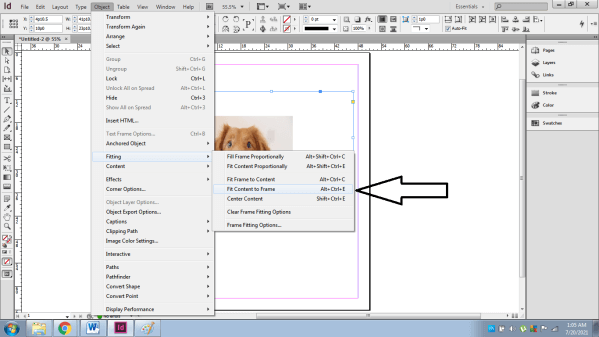
- Become to objects and click on Fitting as shown below.
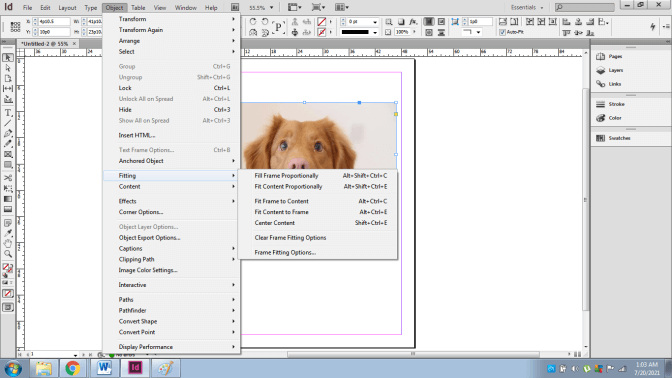
- Employ Fit Frame to Content to resize the frame co-ordinate to the image or the artwork.

- Apply Fit Content to Frame to resize the artwork or image according to the frame.


- While this selection has many other functions likewise such equally Center Content, Fill up Frame Proportionally, Make full Content Proportionally and Clear Frame fitting settings.

Conclusion
Summarizing the above article, it is proved that Adobe InDesign is a tremendous programme with limitless functions and features. Resizing Images and Frames is a simple and basic function to create creative artworks and designs on InDesign.
Mostly used for press and publishing purposes, learning the fundamentals of InDesign will help the users in the long run in operating the software.
Recommended Articles
This is a guide to InDesign resize image. Here nosotros talk over that Adobe InDesign is a tremendous programme with limitless functions and features. You may also have a look at the post-obit articles to acquire more –
- Alternative to Indesign
- Indesign version
- What is Adobe InDesign
- InDesign CS6

How To Set Resolution In Indesign,
Source: https://www.educba.com/indesign-resize-image/
Posted by: smithgrewle.blogspot.com
0 Response to "How To Set Resolution In Indesign"
Post a Comment